This is a coffee table I built as a wedding gift for my daughter and son-in-law. It will probably drive some of you engineer types crazy, because it is entirely free form!
The first thing I should do is give credit to a man from a long time ago. My High School shop teacher was named Ken Vliet. He taught wood shop in central New Jersey for a long time. Mr. Vliet had a gift he used to build for newly married couples. He called it his “Wedding table”. It was a small table, cut in half, then spliced back together with a gap in the middle. He described it as 2 individuals, each unique, each standing on their own 2 legs, but unable to stand without each other, bonded by the 3 bonds of faith, hope, and love. He made a couple every year and gave them to newlyweds.
My daughter heard me tell of these tables once, and asked me if I would build her one when she got married. I’m wrapped around her little finger, so of course I obliged.
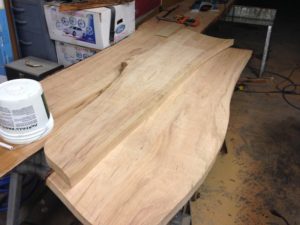
Her wedding table started as 2 beautiful book matched slabs of cherry each 24″ wide. I loved the idea of the book match, but that width was so huge it was not going to be a small table. Ultimately after staring at the grain for a few days, I decided I really wanted to utilize the crotch and burls which were in 1 of the slabs, and ignore the book match.
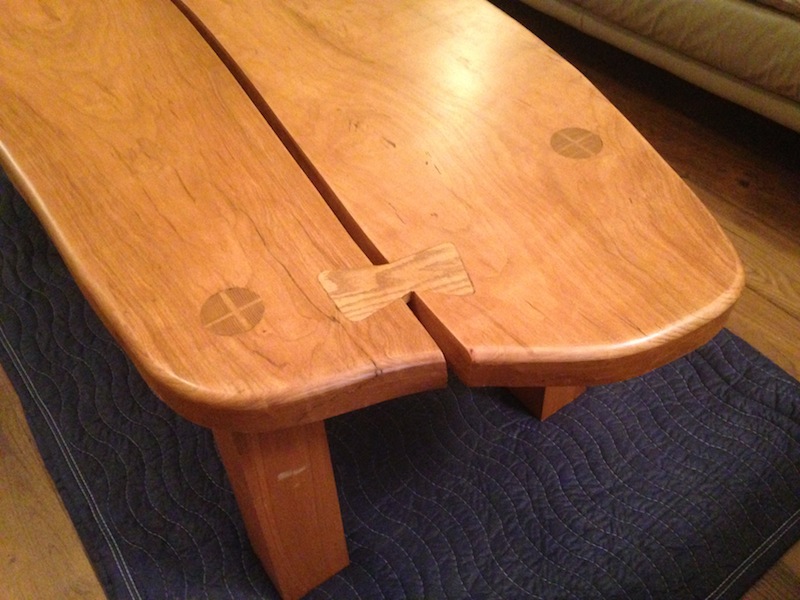
The tree defined the shape of the table. The twistsand sweeps of the grain led the curves and radii of my saw. I was just a discoverer on a journey. Once I established the shape of the slabs, I added 3 dovetail dutchmen to tie them together.
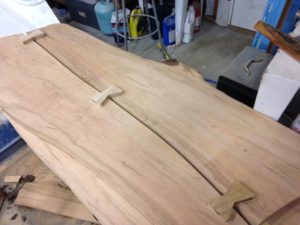
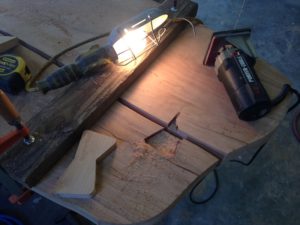
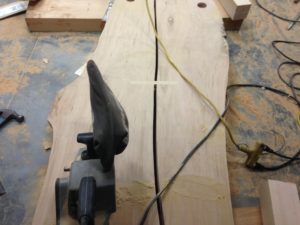
The dutchmen took a free-form dovetail shape, for reasons of both form and function. I mortised them into the tabletop.
Good help is always good to have!
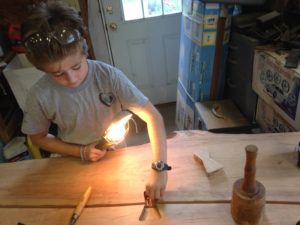
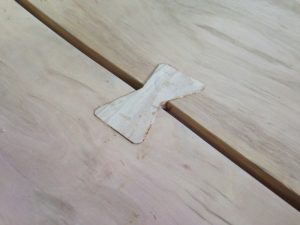
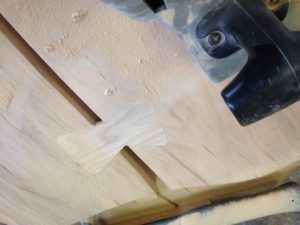 I didn’t want to build it like a typical table, with a skirt and apron which hold the legs together and attach to the top. I wanted it to be held together by the 3 connections only. After cutting in the dutchmen by hand, I glued them in place, then sanded them flush.
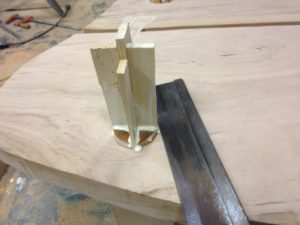
Next, it was time to start the legs. I had a few red cedar timbers hanging around, and I cut some nice beefy legs out of them, then laid out the tenons. The easiest way for me to cut the large mortises was with a hole saw, so I cut round tenons.
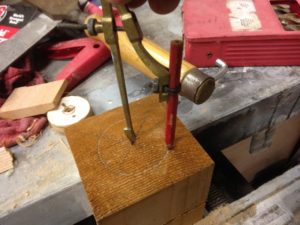
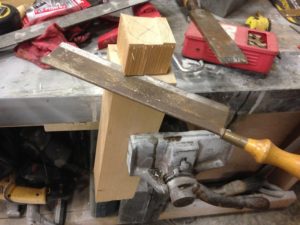
I didn’t want the legs to be perpendicular to the free form table top, I wanted them to splay at an angle. Therefore the shoulder of the tenon would have to be angled, which made it a little harder. I probably could have come up with a jig to machine cut them, but I didn’t mind cutting them by hand.
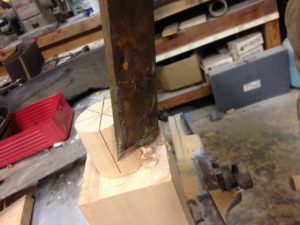
I roughed them with a dovetail saw, then shaved them close with a timber framer’s chisel known as a slick. It’s about 18″ long (the size and weight actually helps with the accuracy).
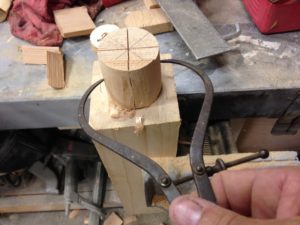
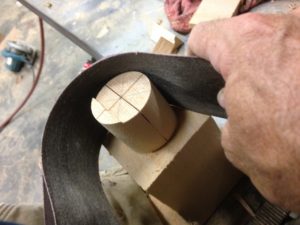
I used a caliper to maintain the diameter on the tenon, and finished it off with an old sanding belt.
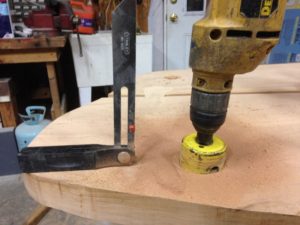
The leg placement was a little weird. The top is not square, so there is no “right” way to place the legs. There are, however, a whole lot of ways that seemed really wrong! I moved them around and eye-balled them until I was happy with the placement. The bores in the table top were another one of those things where I probably could have spent a lot of time building a jig to do them accurately. In the end, I did it with a hand drill eye-balled to run parallel with a T-bevel square (sorry, no real science here on how to do it “right”).
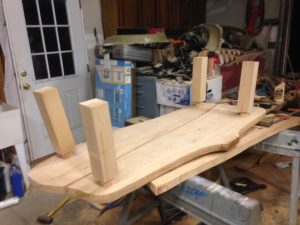
Next, I discovered I had a bit of a structural problem. The table top is heavy, and fairly large. The dutchmen (my daughter calls them “bowties”) bind the top face of the top, but the bottom of the slabs are in tension, and the table wanted to fold in half. I had a strong aversion to any kind of skirt to bind the 2 halves together- they HAD to be held by only 3 things (Faith, Hope, and Love). Eventually, I decided I needed more glued surface area on the bottom face of the tabletop, and I inlet 3 oak ribs under each of the dutchmen (where they can’t be seen from above), then sanded them flush just like the “bowties”.
Before installing the legs, I had cut 2 kerfs into each tenon. I glued them up, drove wedges into the kerfs, then cut off the excess tenon and sanded flush. Mr. Vliet was a better woodworker than me. His Wedding Tables would have looked more like a Chippendale piece. I’ve done a lot of timber framing, and enjoy rustic stuff, so mine looked a bit more like this (it’s more a refection of who I am).
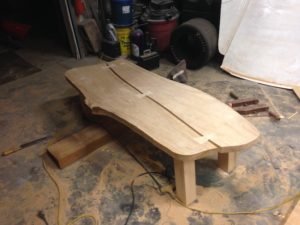
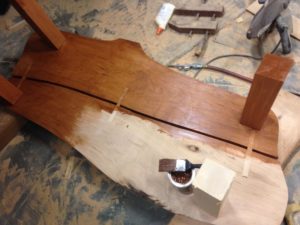
Once assembled, I had a lot of sanding to do. Then came the finish. I used a gel wiping stain, and worked it into the wood, then topped it off with 5 thin coats of satin poly, sanded between each coat.
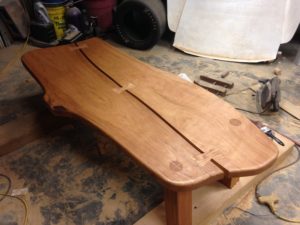
And Voila! The final product:
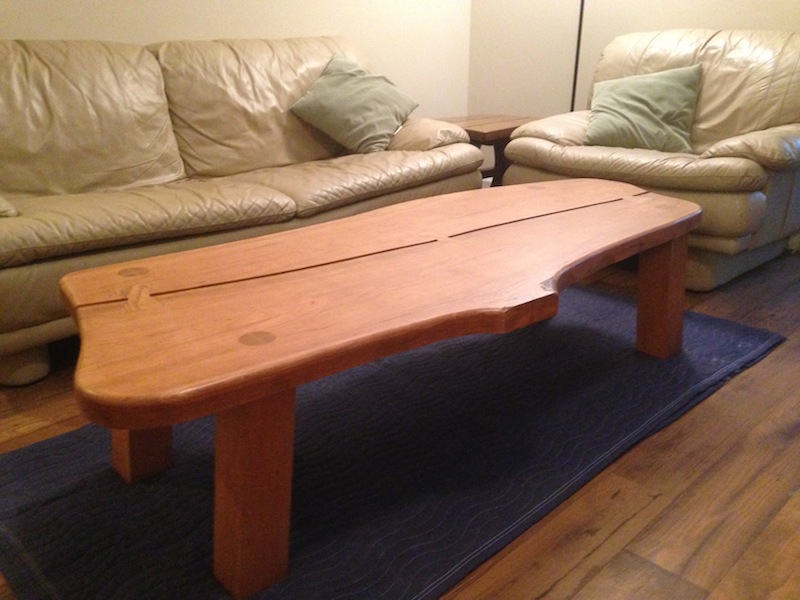
So, why did I call this a tribute? Because 40 years ago, a man named Ken Vliet taught me to love working with my hands, and put an idea in my head that I have now given as a gift to my daughter and son. I don’t know if Mr. Vliet is still alive, but I know he deserves credit. He touched a lot of people. At least one of them is a woodworker who still builds Mr. Vliet’s wedding tables.